













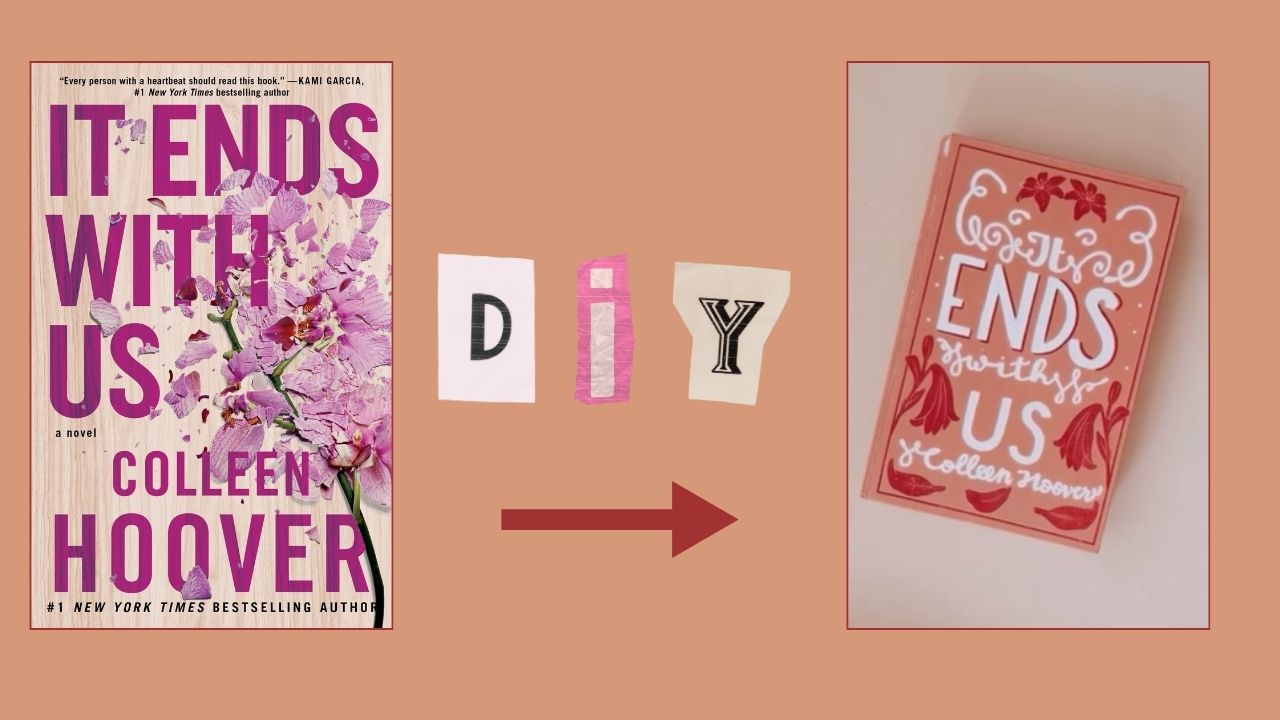
Don’t want to splurge for the hardcover of your chosen book? Never fear — we’ve got a step-by-step guide using household materials on how to create a hardback cover. Transform your bookshelf into a DIY paradise and make all of your book covers yourself! Grab a book, carve out some personal time, and follow the below steps created by YouTube Creator ExtraCozyDIY.
Materials Needed
The first step in this process is to gather your materials. We’re sure there are other recipes, but this one requires items you might already have in your household. If not, take a quick trip to your local craft or retailer store.
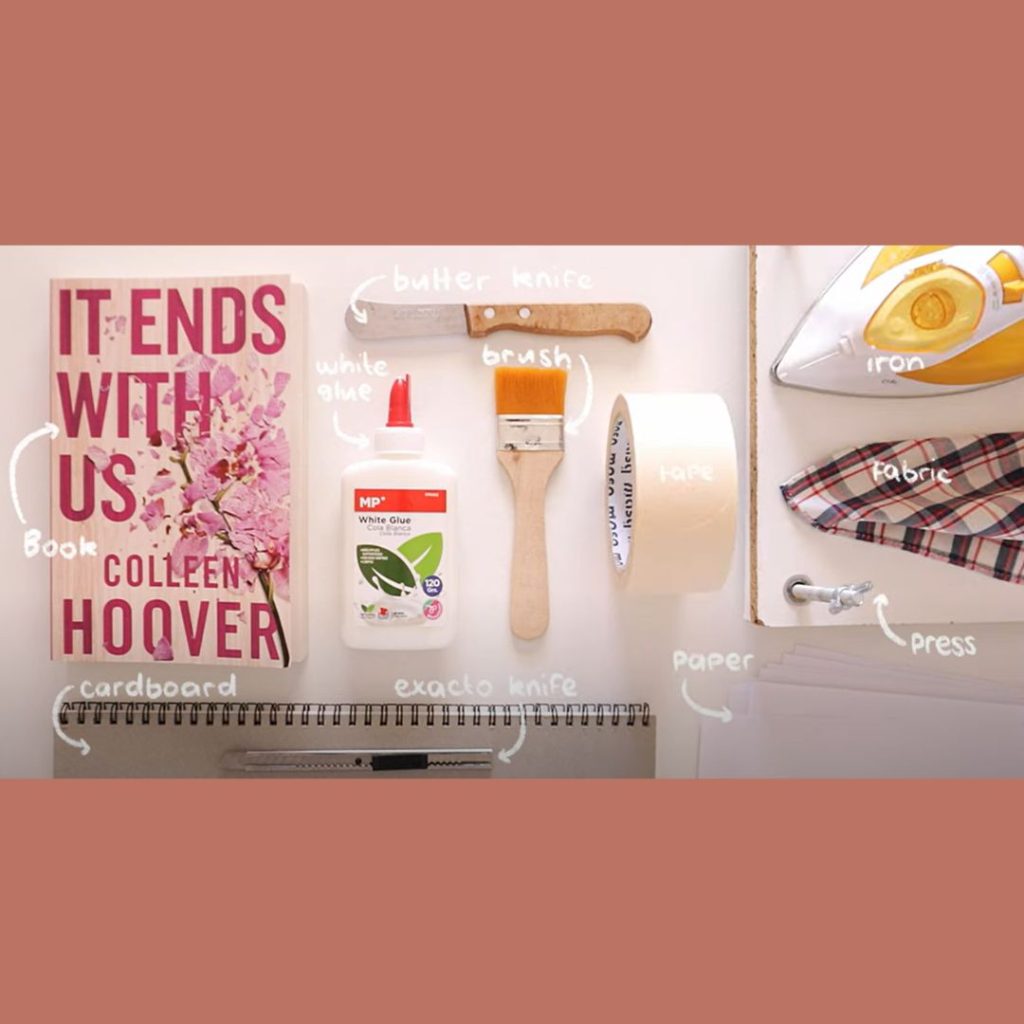
- Your paperback book of choice
- Sheets of paper
- Butter knife or something not too sharp
- White glue
- Brush
- Cardboard — the back of a sketchbook or notebook will work
- Exacto knife or scissors
- Book press or some heavy books to use as a weight
- Optional — a thin cloth or piece of fabric, iron, and painter’s tape
Step One
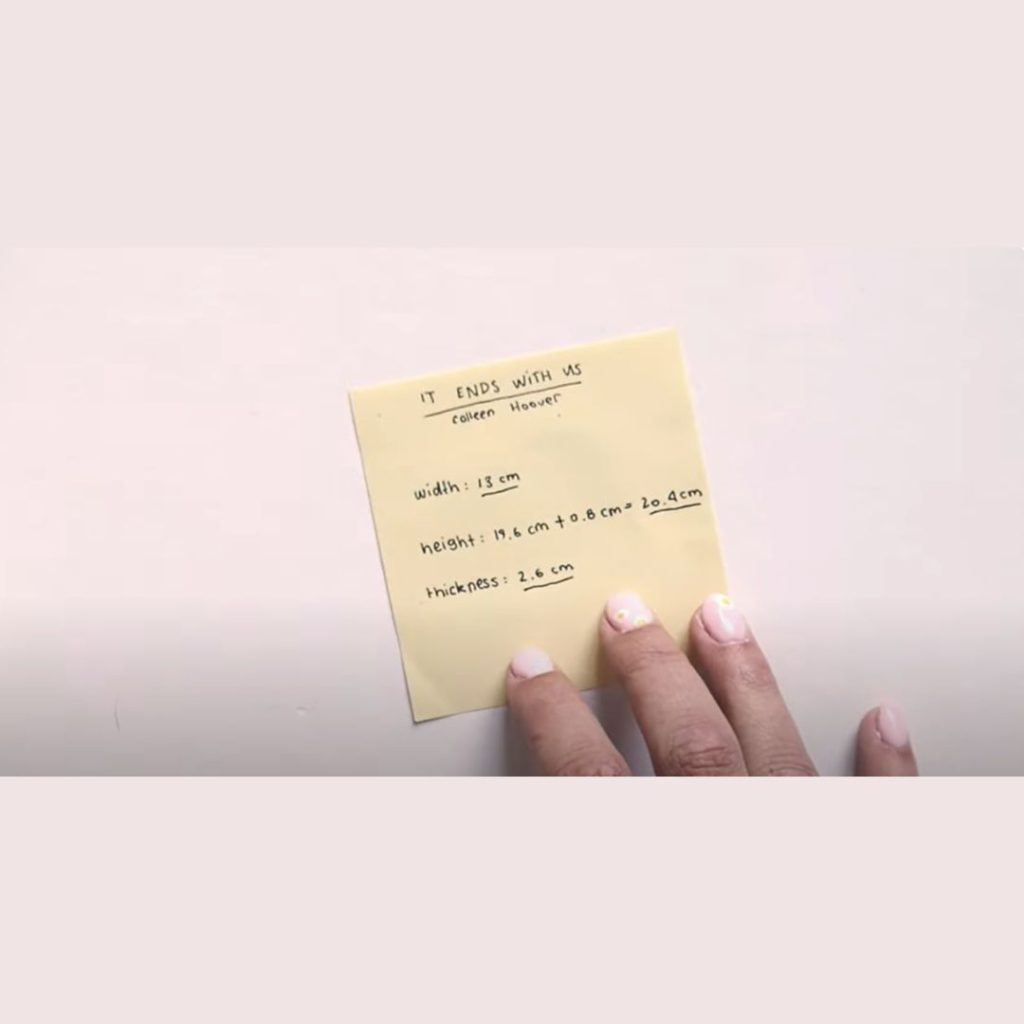
Gather your materials in one area. Measure your book’s height, width, and thickness. Add eight millimeters to the height.
Step Two
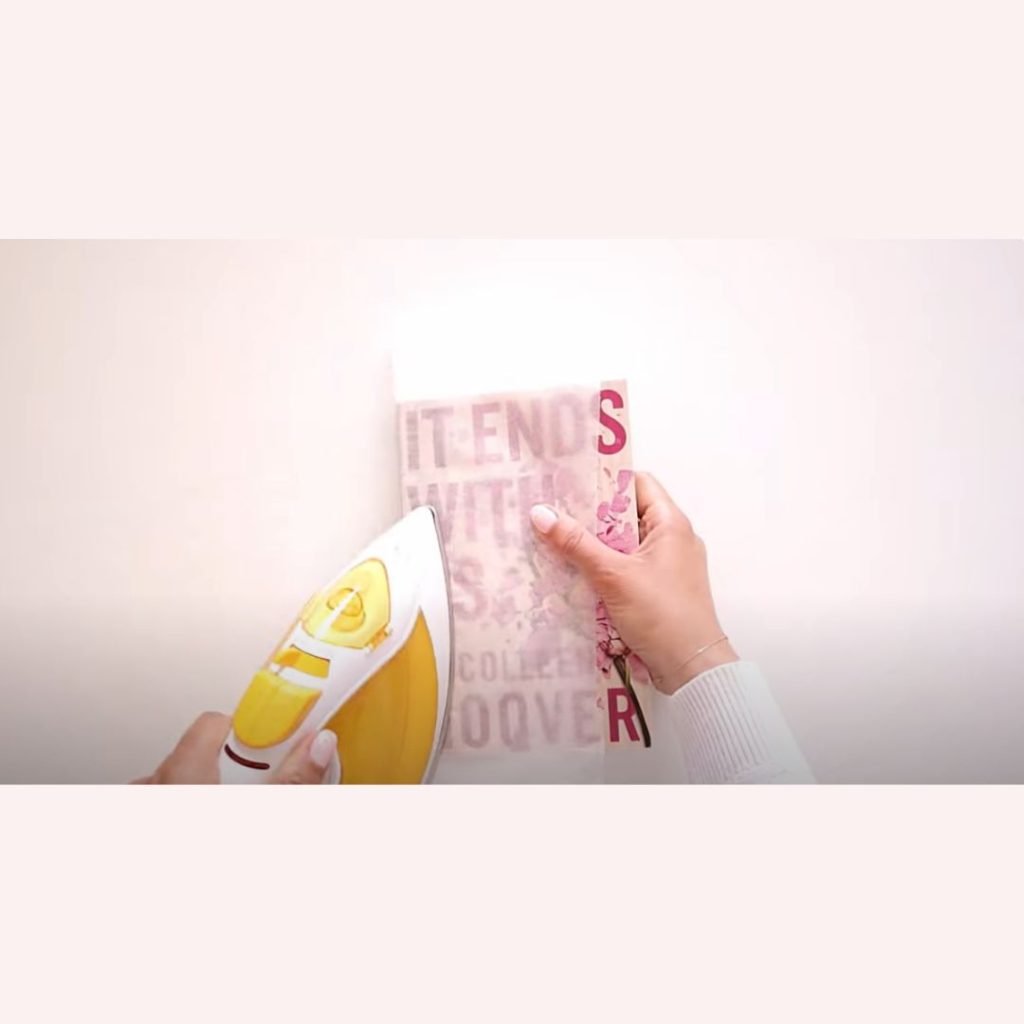
Remove the book cover. One method you can use is to take parchment paper, wrap it around your book cover, and take an iron to melt the glue on the spine.
Step Three
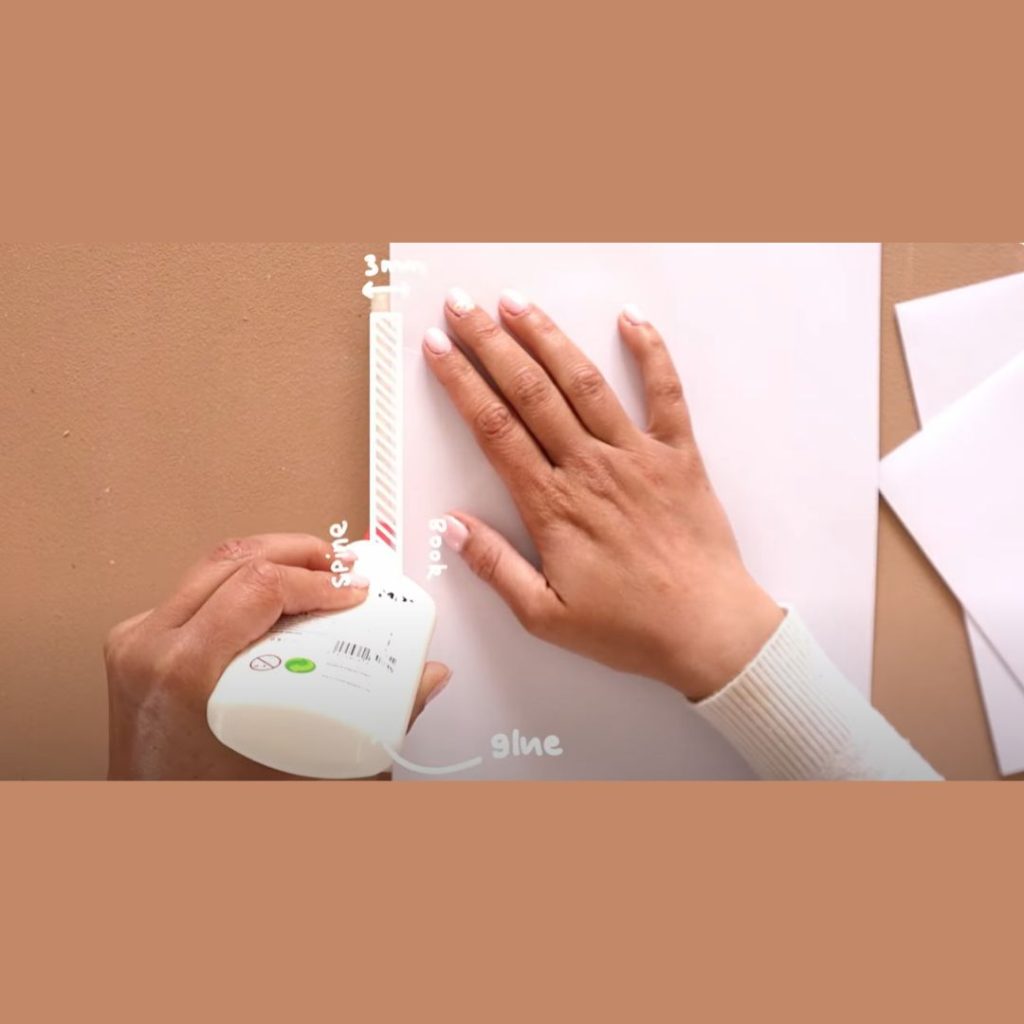
Create your endpapers — the first and last pages in your book to transition between your hardback cover and main content. Simply fold two sheets of paper in the middle. Glue one folded piece of paper to one side of the book with a three-millimeter glue strip right along the spine. Cut off your excess paper and repeat on the other side.
Step Four
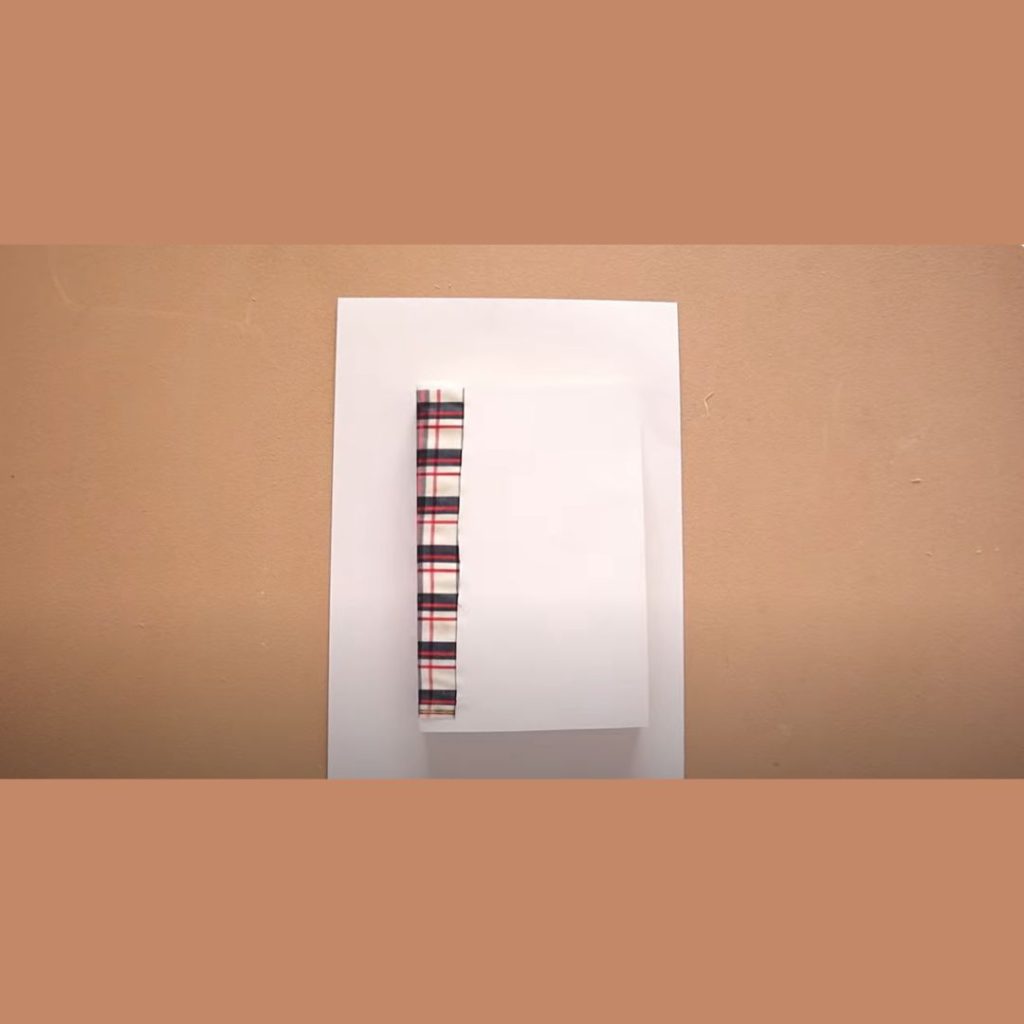
Take your thin piece of cloth or paper and glue it to the spine and over the endpapers to reinforce it. Leave your book in a book press or under weights for at least one hour. In lieu of the book press, take parchment paper and place it in between the endpapers and the main content. Place a piece of paper over and under the entire book. Then, place a few heavy books on top.
Step Five
During the one-hour waiting period, you can now get your creative juices flowing and create your new cover. Cut out your book’s front cover, back cover, and spine from the piece of cardboard in three separate pieces. Refer back to the measurements you took in step one and remember to add the eight millimeters to the height of your book. .
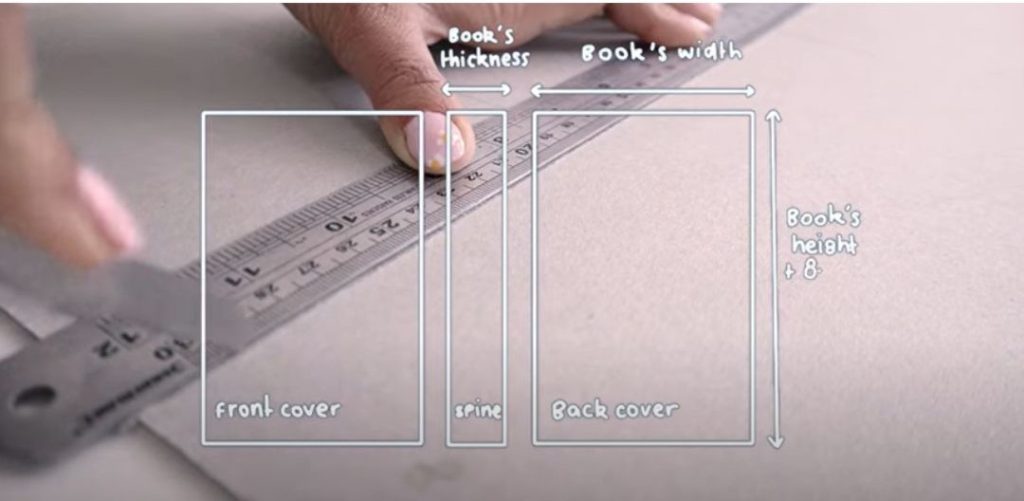
Place your cardboard pieces in a straight line — using a ruler can help here — leaving three to five millimeters of space between the spine and the covers. Tape them together or tape and glue paper to them to add structure. Or, do both and be better safe than sorry. Over-structuring will always be better than under-structuring your cover.
Design your cover using any platform you normally use to create. Paint or watercolor your sheets of paper, create the designs on Canva, or freehand your designs if you so wish. When printing your front cover, back cover, and spine, you will have to print on three different A4 sheets of paper.
Step Six
For the spine, cut a three-centimeter border on each side, top, and bottom. The front cover will have a three-centimeter border on the top, bottom, and right side. Cut right to the edge of your cover on the left side. The back cover will have a three-centimeter border on the top, bottom, and left side. You will cut to the edge of the back cover on the right side.
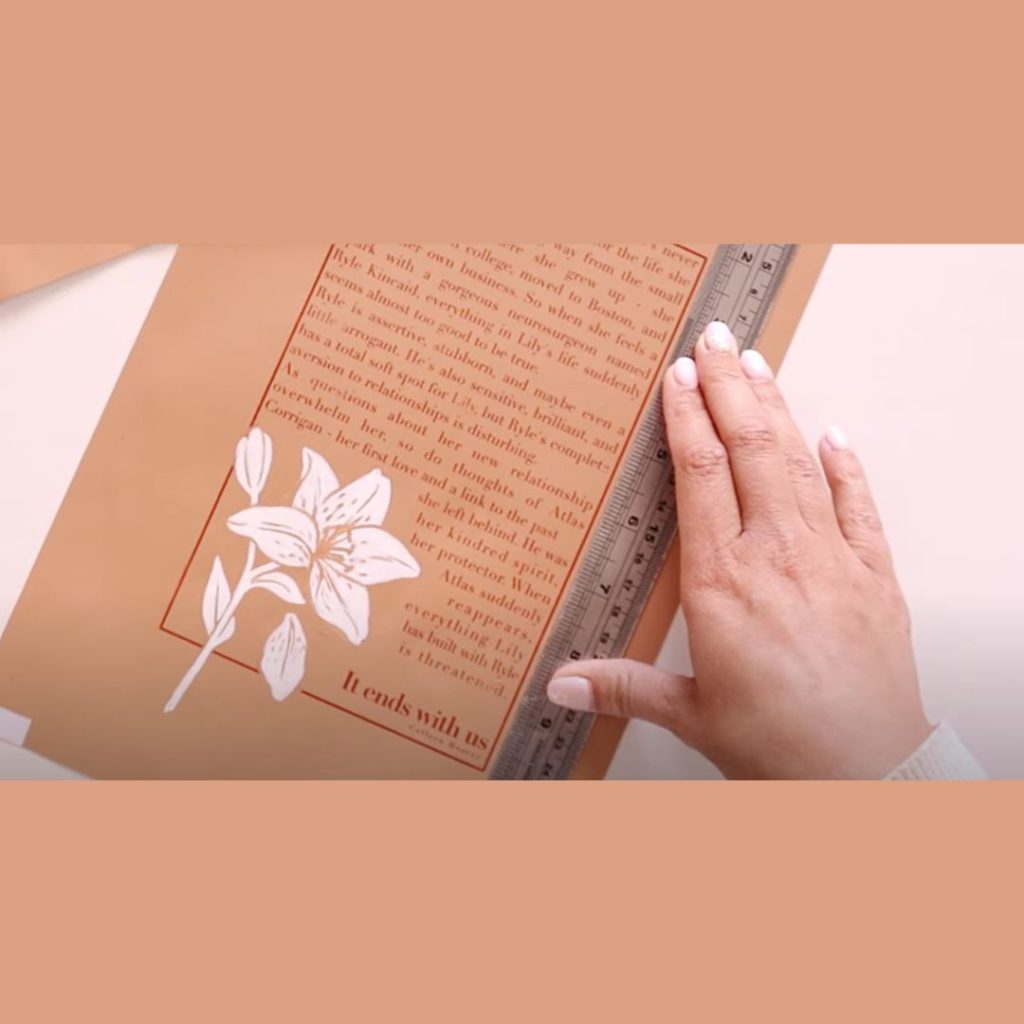
Fold your spine in on each side. Use your cardboard structure to mark where to fold your spine. Apply a layer of glue to the cardboard structure you made in step five and secure your spine design. Cover with a sheet of parchment paper and smooth out to get rid of any excess glue or air bubbles.
Step Seven
Now, you will mark the creases for your front and back covers. Be very careful as the paper is really fragile due to the glue’s moisture. You can then glue the sides from your spine to the front and back covers, again smoothing out any excess glue. Glue your front and back cover designs on. Use a thin layer of glue each time and smooth out. The glue may have some imperfections, but this will eventually smooth out as it dries.
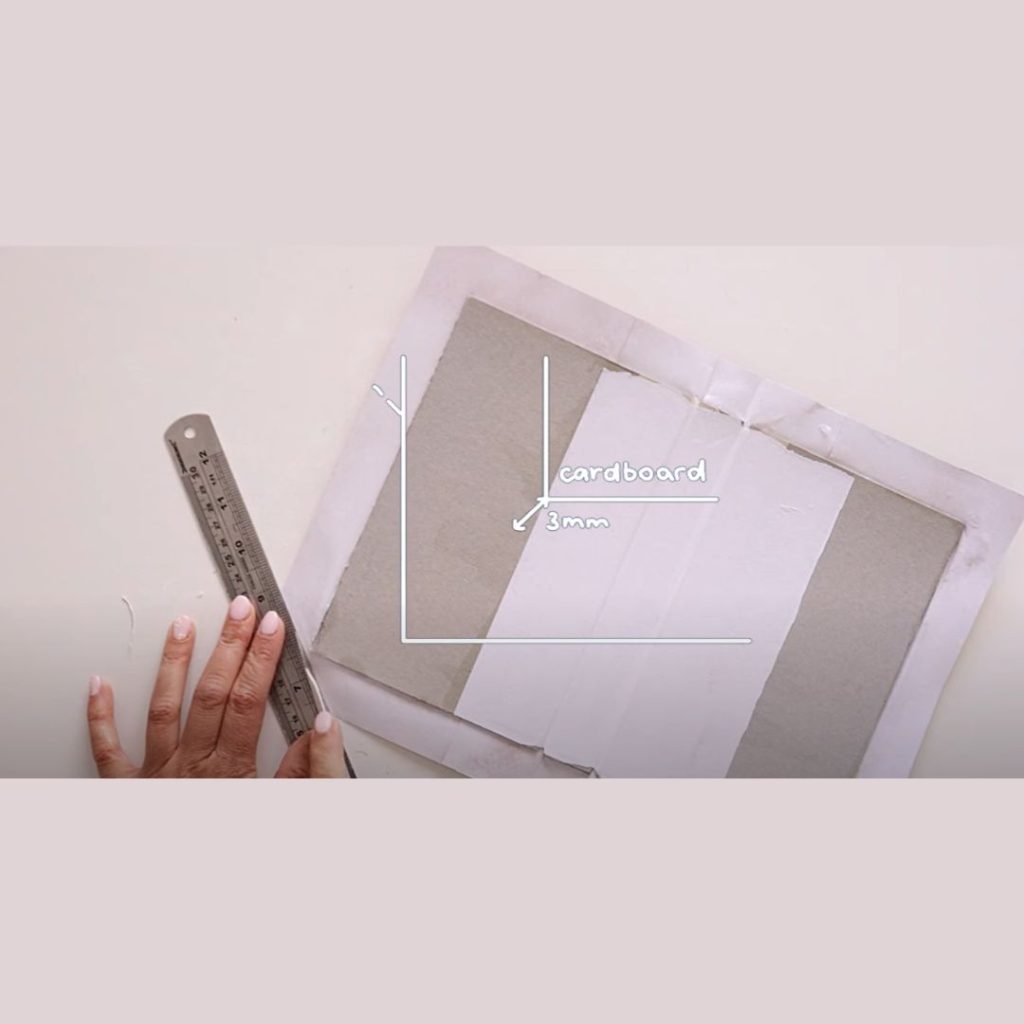
Flip your cover over so the design is face down. Cut 45-degree angles on the corners, leaving three millimeters of paper. Put glue down on one of your borders and glue to the inside of your cardboard structure by folding the structure to the glue. Smooth out! Repeat for all borders.
Step Eight
Assemble your new cover. Double and triple-check to make sure your cover is facing the correct way. Center the book’s content on the cardboard cover and place a sheet of paper under the first page to protect it. Put a thin layer of glue over the top of your endpaper and leave a five-millimeter space without glue to the spine. Replace the protective paper with a new one, close the cover overtop, and press down. Repeat for the back cover.
NOTE: Do not glue your spine, or you won’t be able to open your book!

Once you’ve secured your book cover, leave the protective sheets inside and place the book in a book press or under weights for at least three hours. That’s all there is to it! You now have a new DIY hardcover book instead of your old paperback one.
We hope you were able to follow along in this fun guide as a cheaper way to transform your novels into something new. Have fun with your creations, and make them unique to you!
Click here for more DIY tips on creating your perfect book cover.
Interested in what we recommend you read? Check out our bookshelf!